3.2. Connect your Analysis Cockpit
In order to get data from your Analysis Cockpit into the Security Center, we need to connect both systems first. This can be done via the Web UI of both systems.
3.2.1. Prepare your Security Center
To connect your Analysis Cockpit with your Security Center,
you have to navigate to Settings > Analysis Cockpit.
Click Connect Analysis Cockpit in the top right corner.
This will generate a One-Time Code which is valid for
two hours. We need this code in our Analysis Cockpit now.
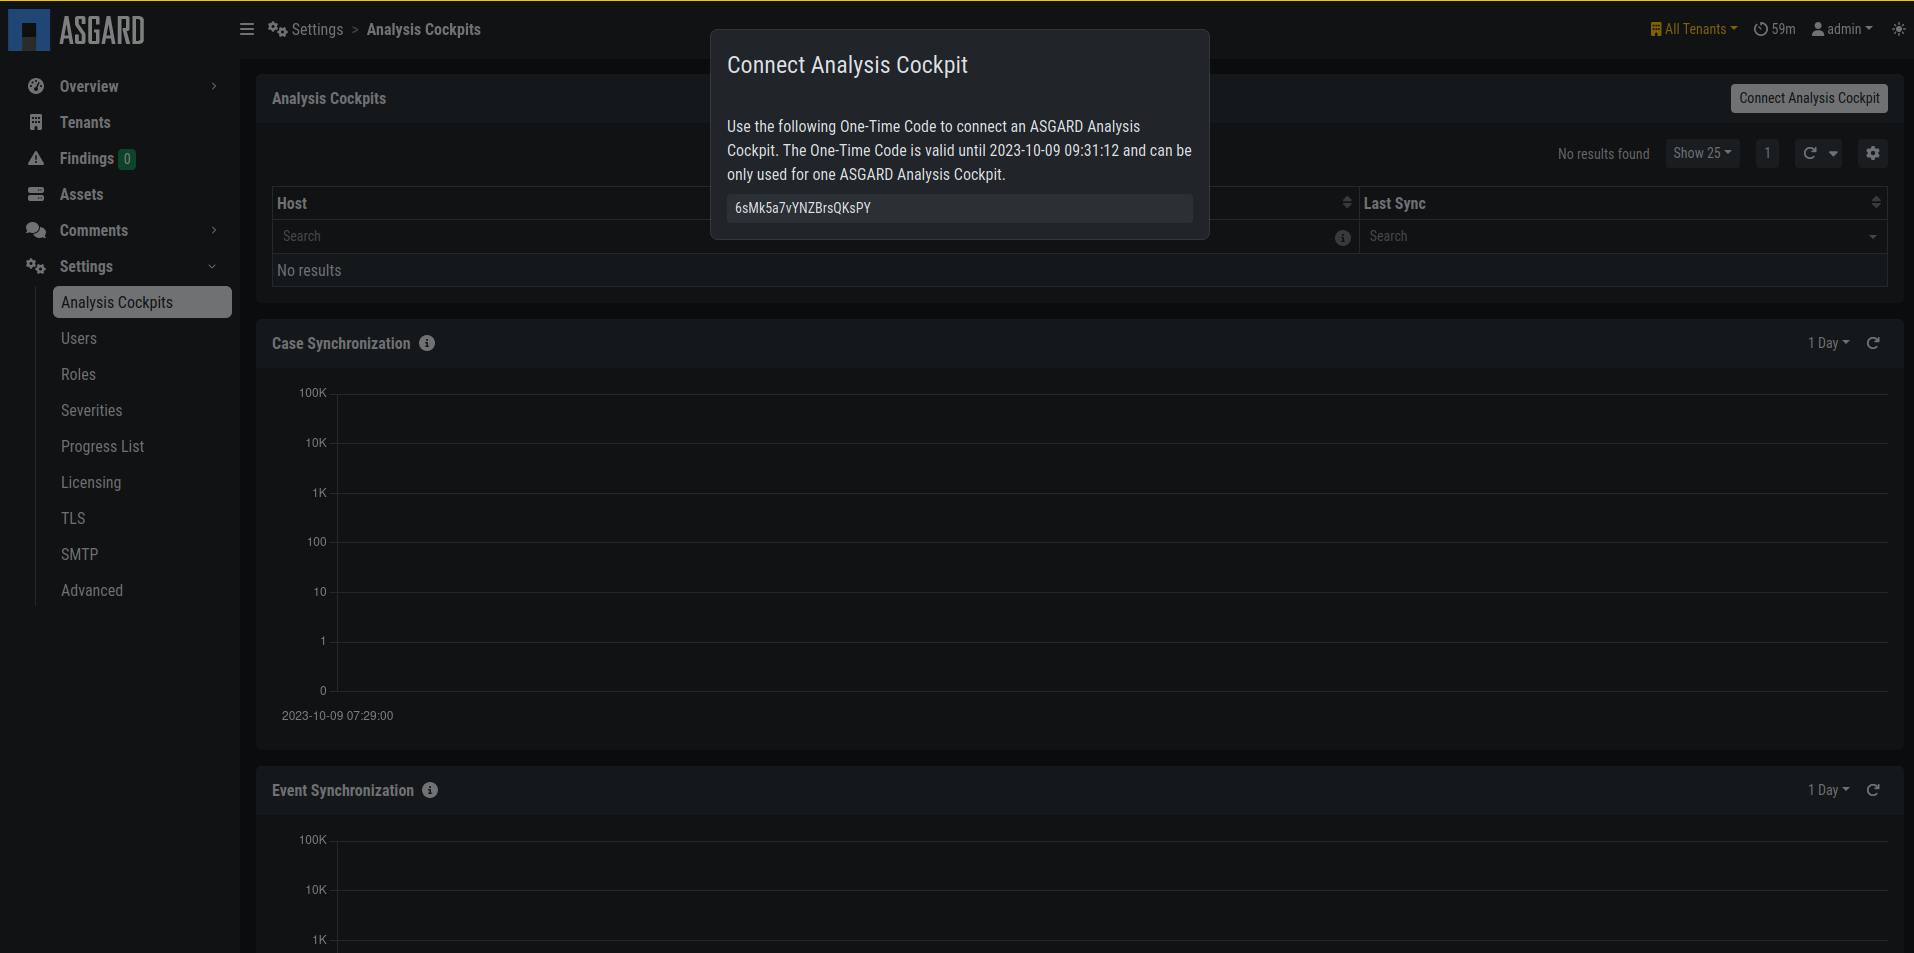
Security Center Connect Analysis Cockpit
3.2.2. Before your connect
Before you connect your Analysis Cockpit to your Security Center, decide which cases should be synchronized to the Security Center. Keep in mind, that once synchronized, data will remain on the Security Center, even if synchronization criteria are modified.
We recommend to only synchronize cases that contain actionable
information, which is fully analyzed and finally validated.
For that reason, we recommend to only synchronize data with
a case status of Closed. In this situation, Closed means
that the analysis is finished.
It is important to understand that a case with status Closed
will lead to one or more Findings being opened within the
Security Center. The actual remediation is then tracked within
the Security Center.
3.2.3. Configure your Analysis Cockpit
Log into your Analysis Cockpit and navigate to Settings >
Link > Security Center.
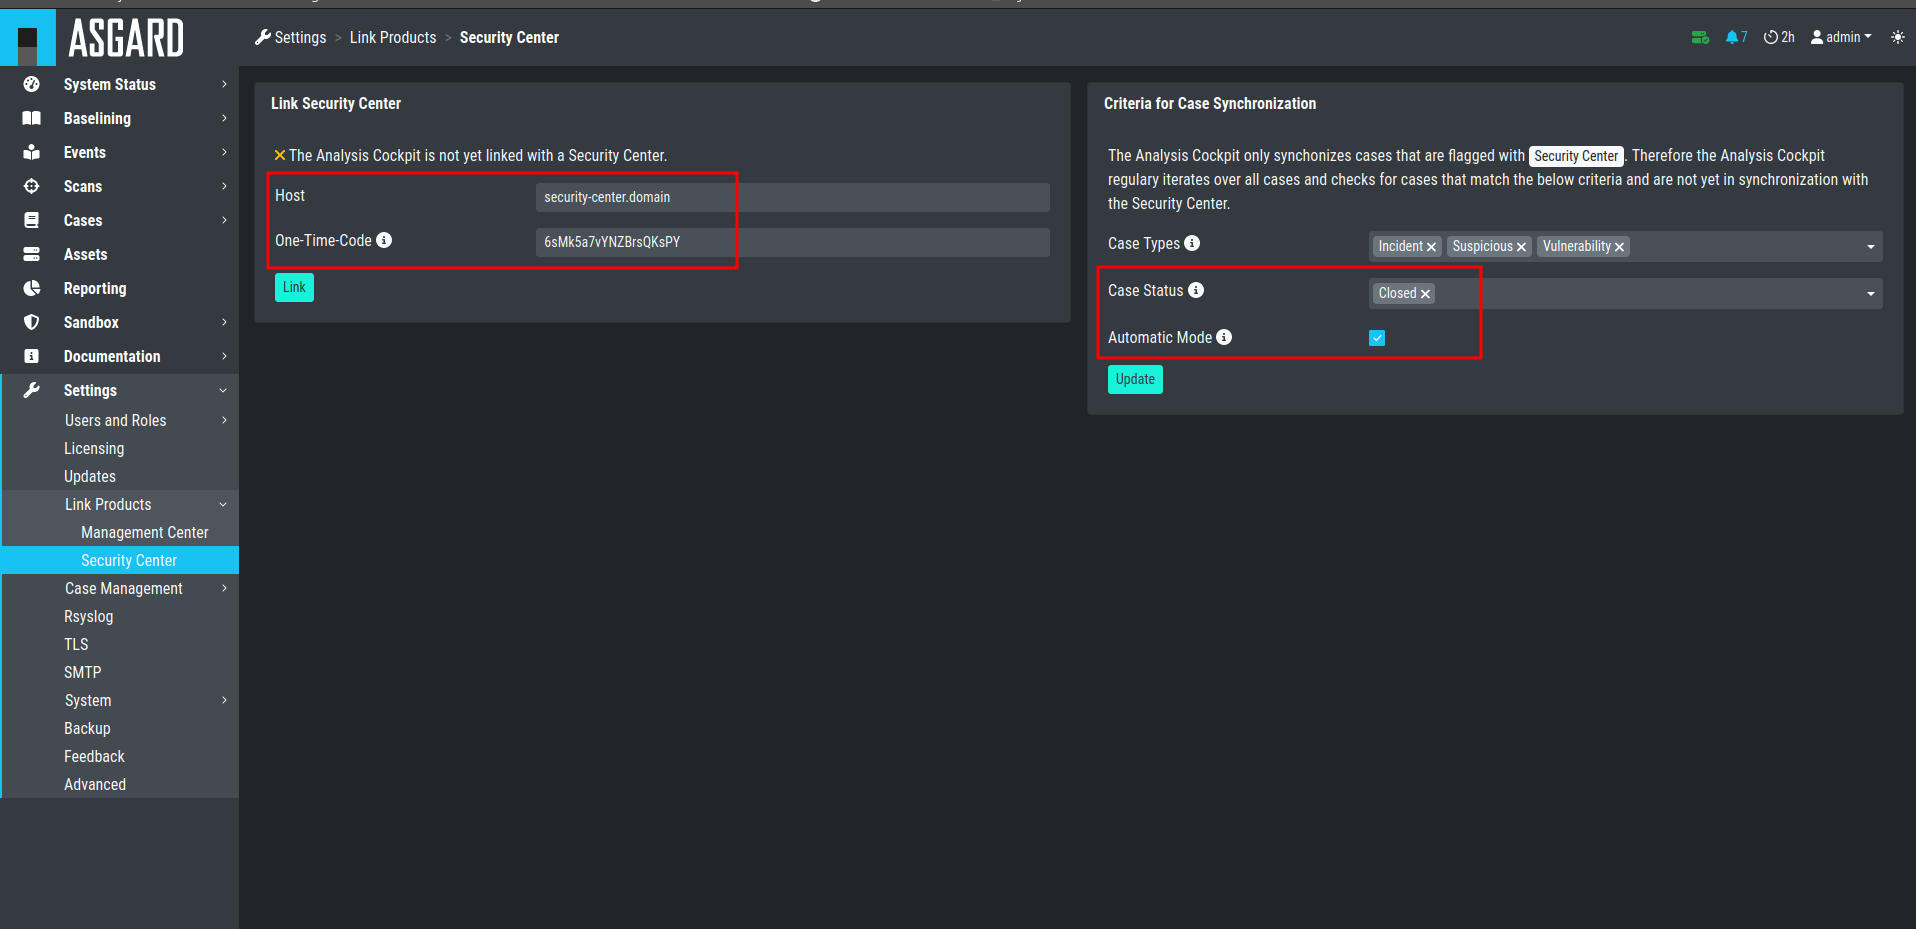
Connect Analysis Cockpit
The Automatic Mode will automatically flag all cases in your
Security Center, which match the criteria from Case Types and
Case Status.
Important
As with all our products, you have to use a FQDN to connect the Analysis Cockpit with your Security Center. Make sure that the Analysis Cockpit can resolve the FQDN of the Security Center and reach it via the necessary port.
You can have find the needed network ports in the chapter Analysis Cockpit.
Once you connected your Analysis Cockpit to your Security Center,
you can find the status and some statistics in your Security Center
in Settings > Analysis Cockpit.
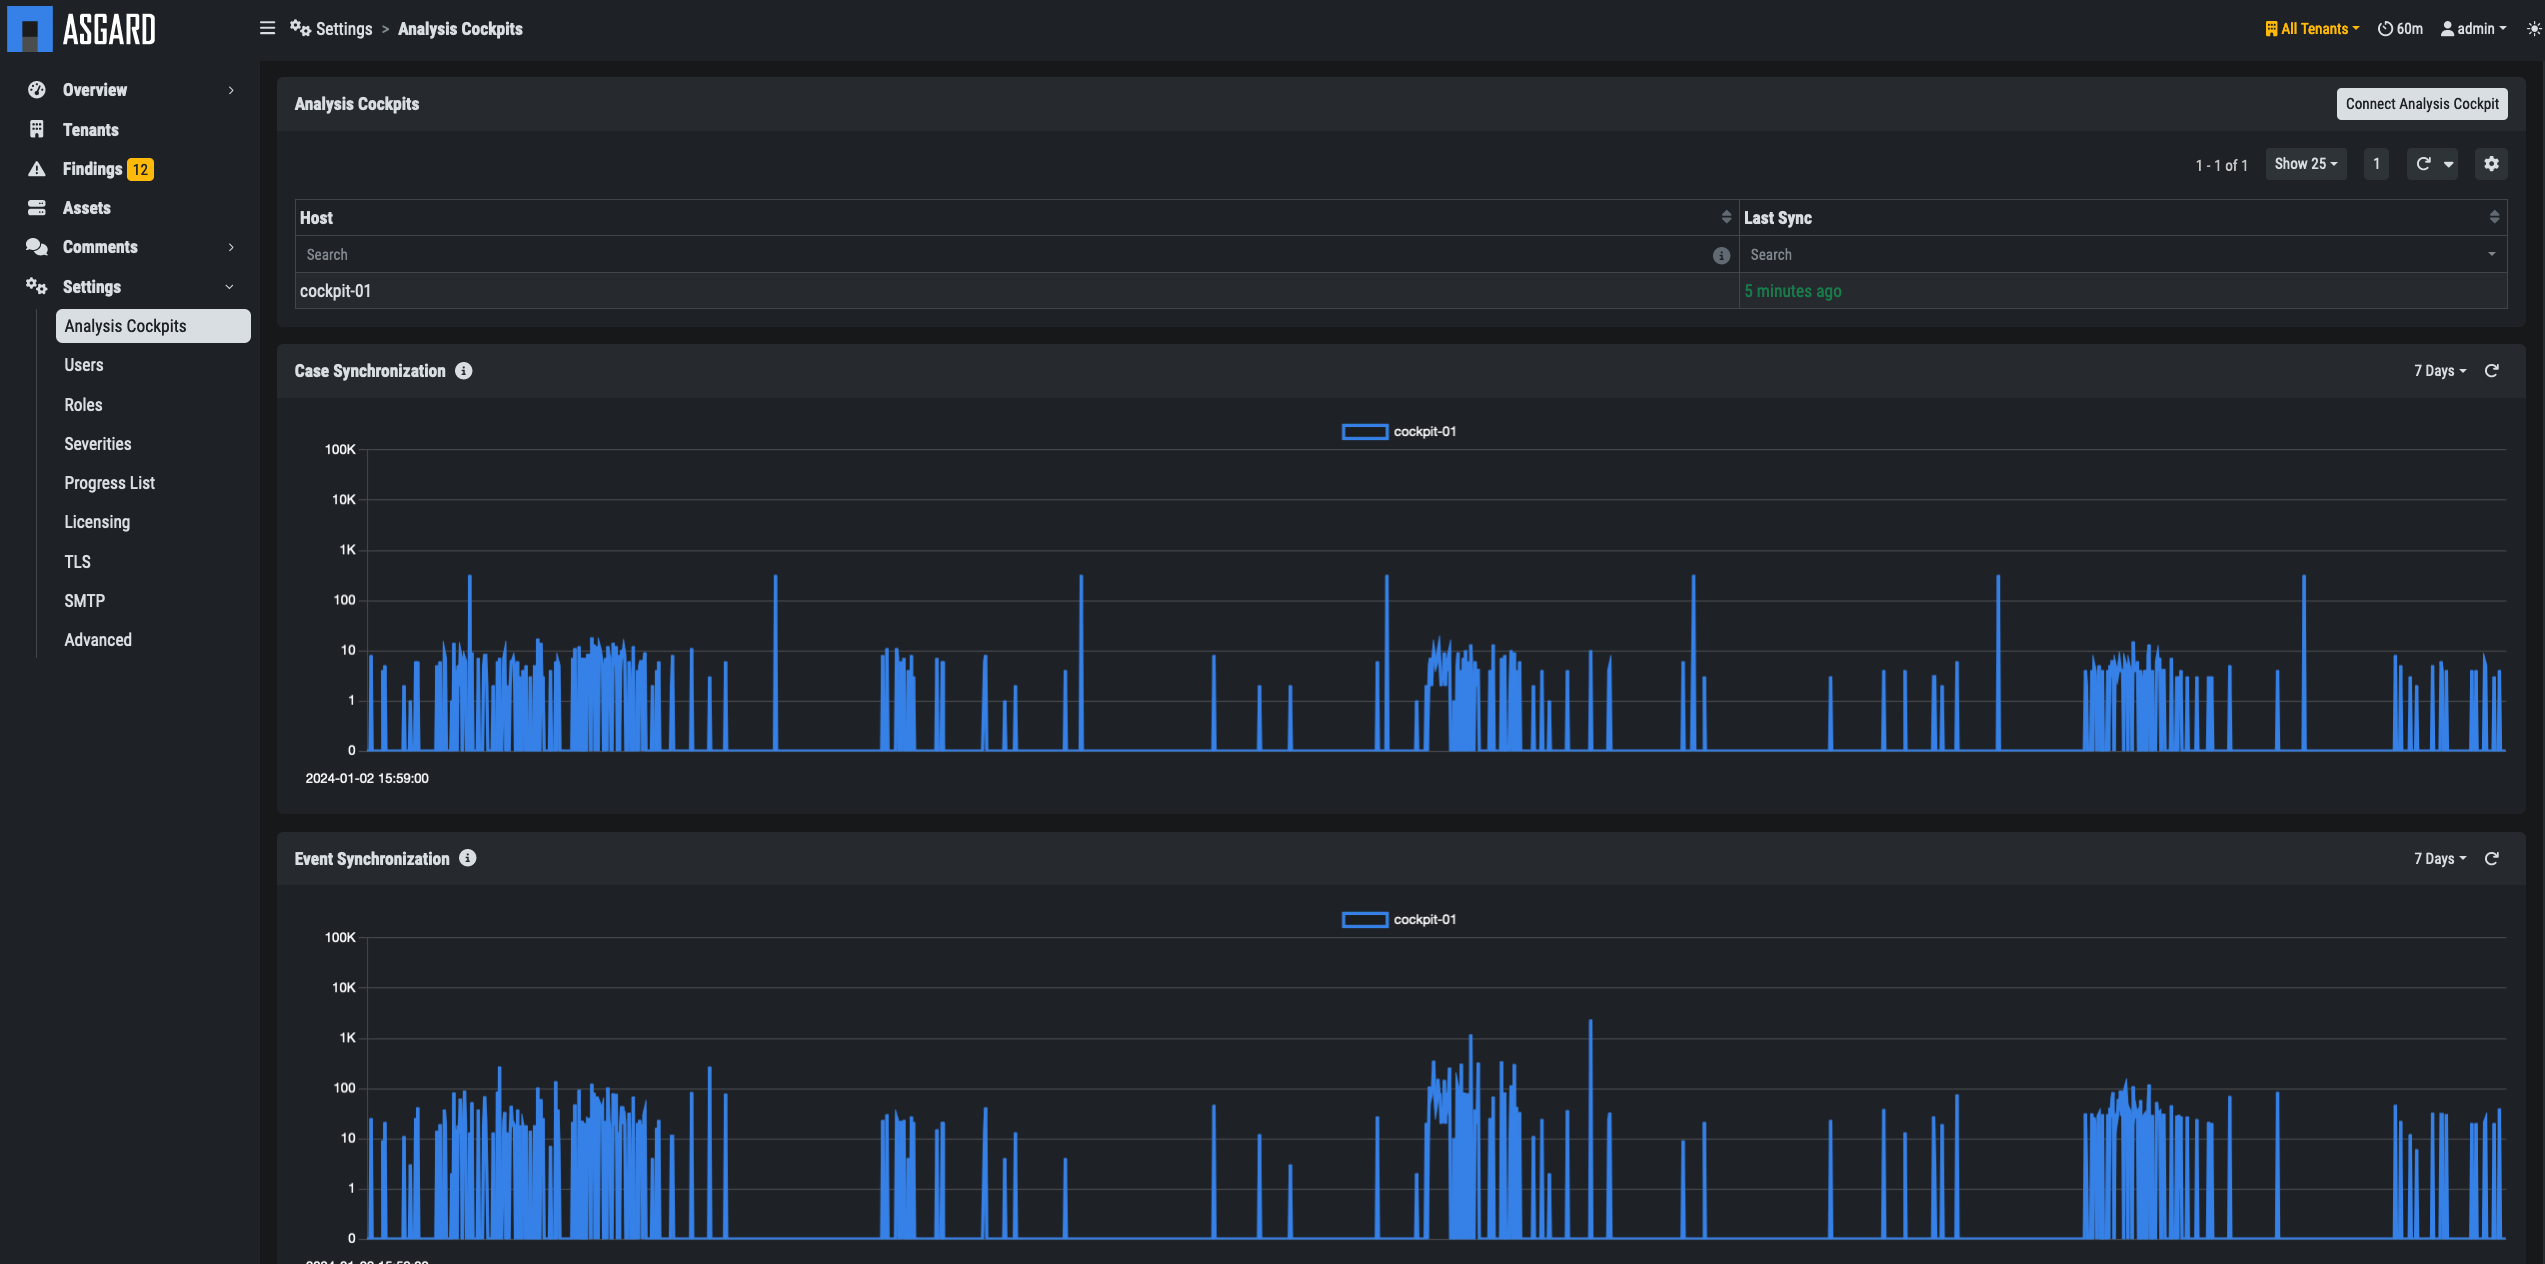
Connected Analysis Cockpit